This document explains how to integrate with Microsoft Active Directory (also known as AD). This allows all users, or specific users within your Windows domain, to log into a Sandstorm server.
AD & Sandstorm: Overview
Sandstorm can rely on AD to authenticate users.
Active Directory exists as part of a cloud product called Windows Azure as well as a software product called Windows Server. Sandstorm supports both products.
Sandstorm can be configured to use single sign-on in a configuration where AD has full control over the login form, allowing you to enjoy AD's support for multi-factor authentication, Windows credentials login, and a consistent sign-in experience for all apps within your organization. As a security benefit, the Sandstorm software never sees the user's passwords. This relies on Sandstorm's support for SAML 2.0.
This document provides textual advice as well as a great deal of screenshots to allow you to proceed with confidence. If you have questions, please open an issue on GitHub. We want to help you successfully set up Sandstorm!
Note that you can also set up Sandstorm to integrate with Active Directory using LDAP bind to authenticate users. We recommend Active Directory Federation Services or Microsoft Azure AD Single Sign-On instead. Both of these products use SAML for authentication. If you must use LDAP bind for authentication instead, see the general documentation about LDAP.
Windows Azure Active Directory
Summary: Once you have created a directory, you must add a new application from the gallery, configure Sandstorm as a custom app, then enable Microsoft Azure AD Single Sign-On. This process will involve Azure AD creating a SAML provider entry point URL and a custom SAML certificate. Once you have done this, you can use Active Directory to choose which users in your domain are allowed to use Sandstorm.
Here is a screenshot tour, using example.sandcats.io as an example Sandstorm server.
These instructions use the Classic Azure Active Directory portal found at manage.windowsazure.com. If you are using the new portal at portal.azure.com, please click on "classic portal" or browse to manage.windowsazure.com in order to follow these instructions.
- Go to: manage.windowsazure.com
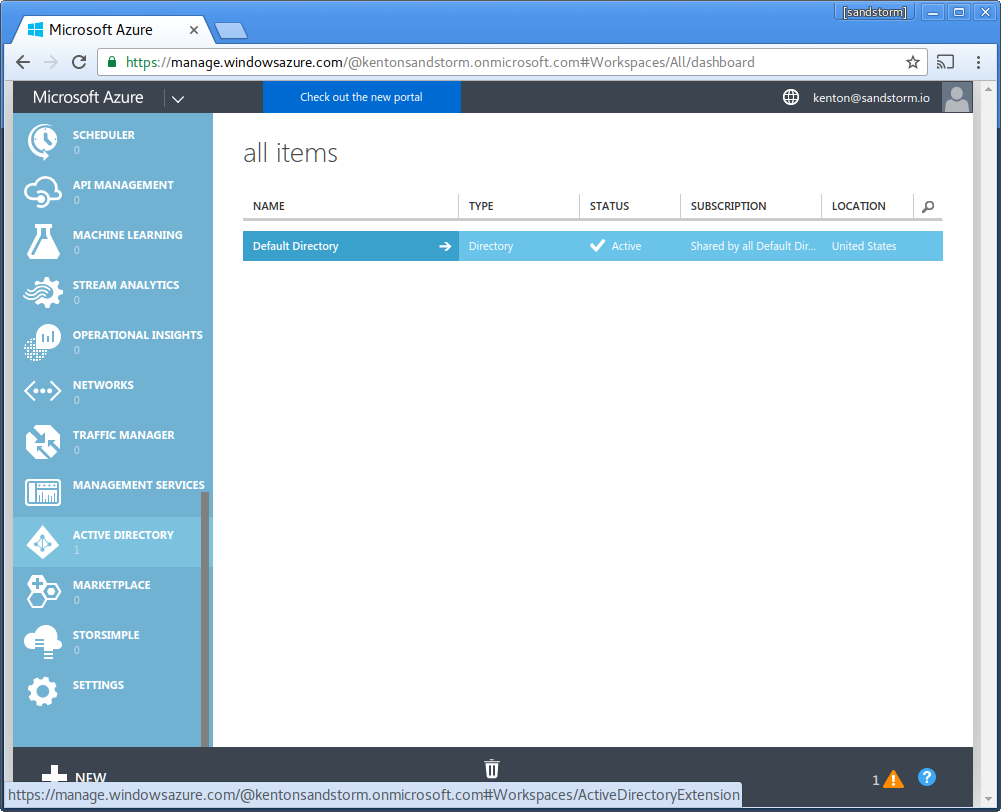
- Click "Active Directory" in the sidebar.
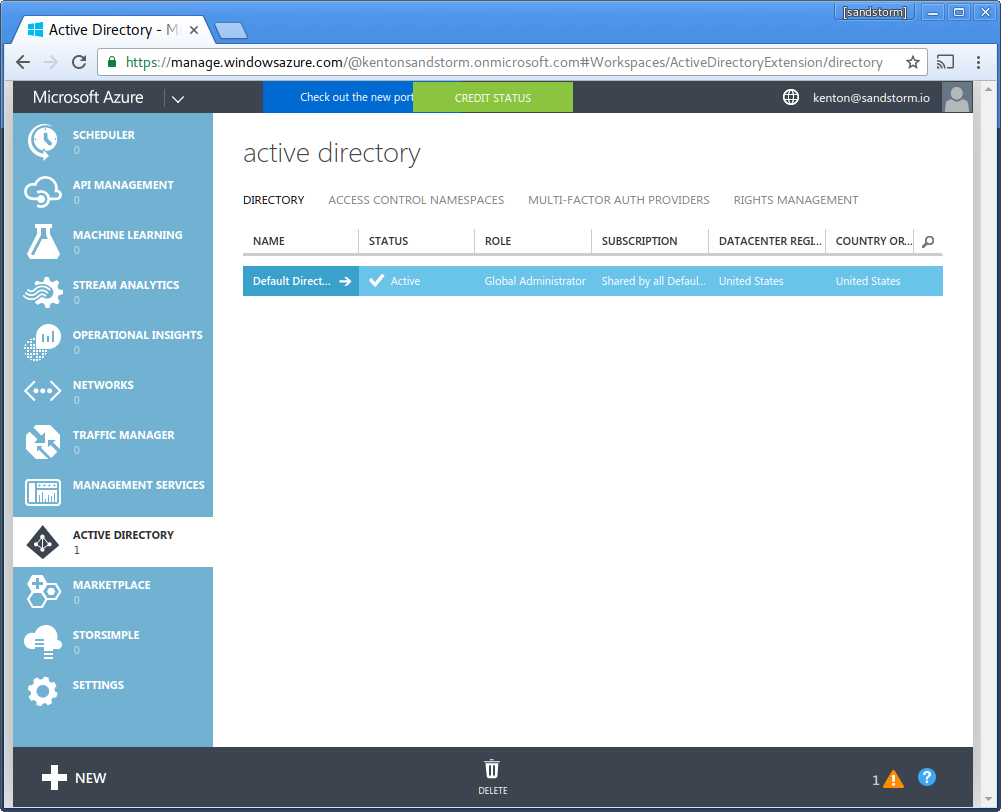
- Choose the directory you wish to use to sign into Sandstorm.
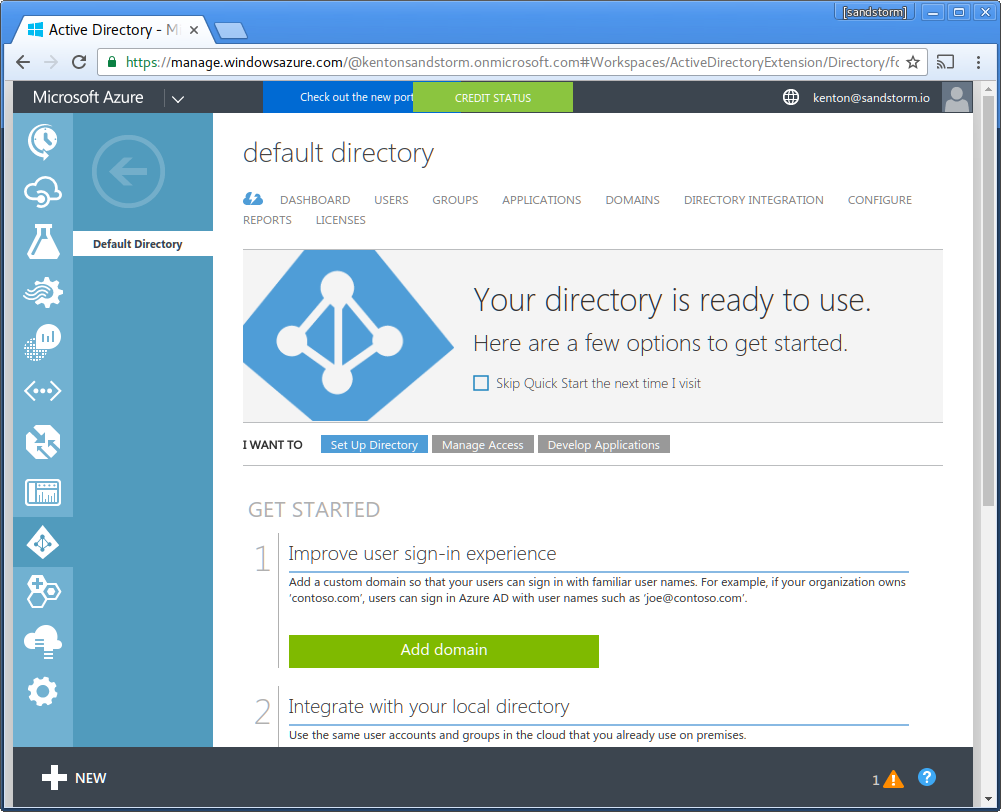
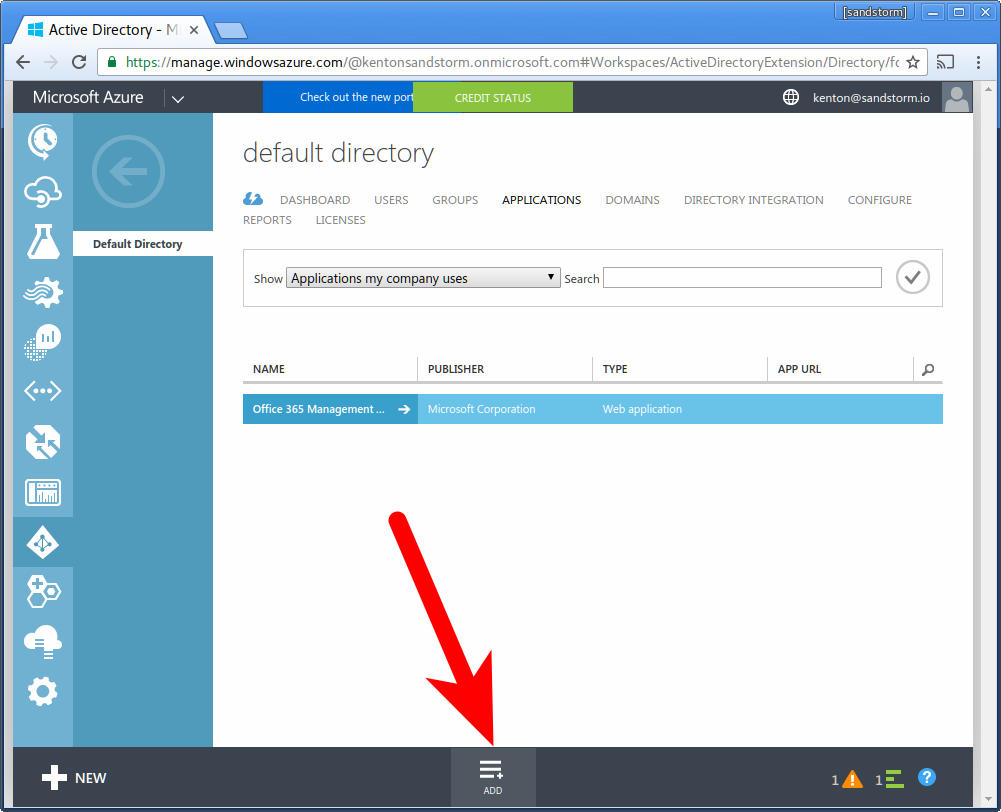
- Click "Applications" in the top bar.
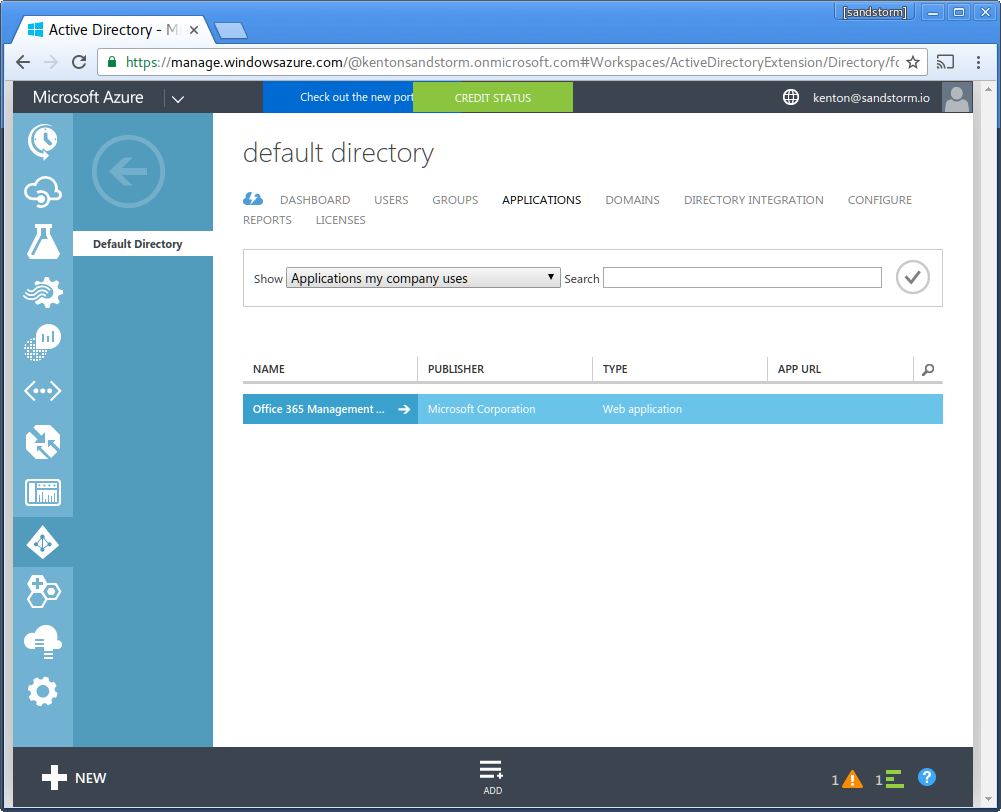
- Choose "Add" from the bottom bar (NOT "+ New").
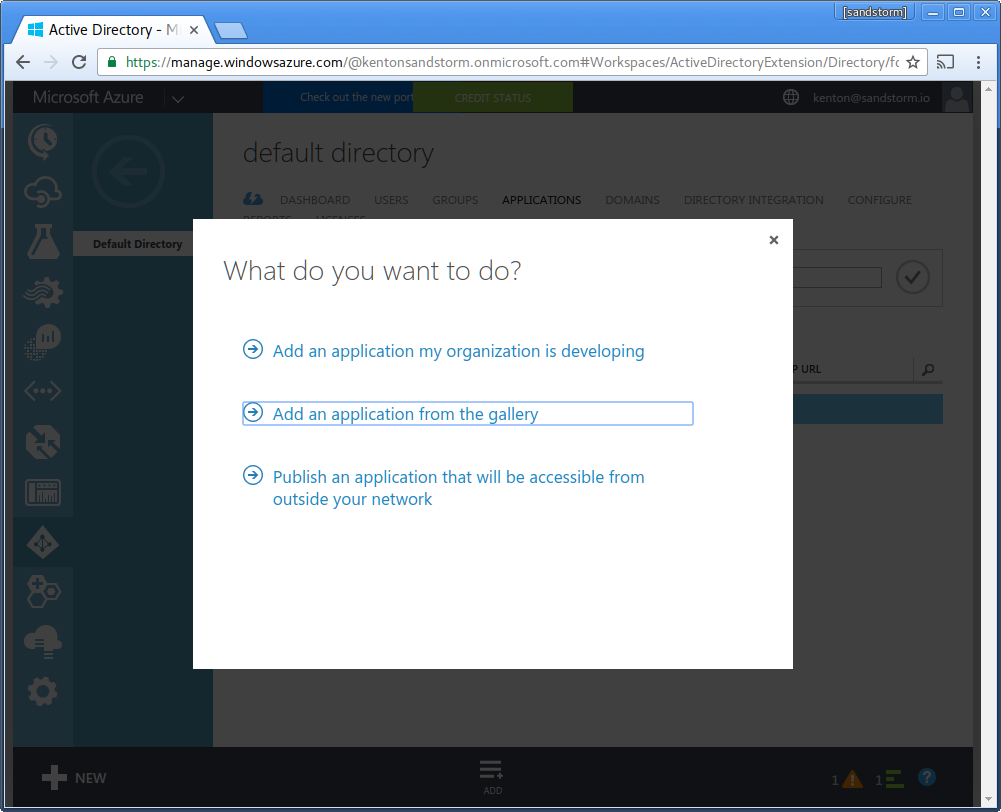
- Choose "Add an application from the gallery"
-
Choose "custom" from the sidebar. Choose "Add an unlisted application my organization is using".
- If this option is not displayed: Make sure you are using the classic portal. At the time of writing, Microsoft is still working on adding this option to the new portal. This option may require upgrading to Azure AD Premium.
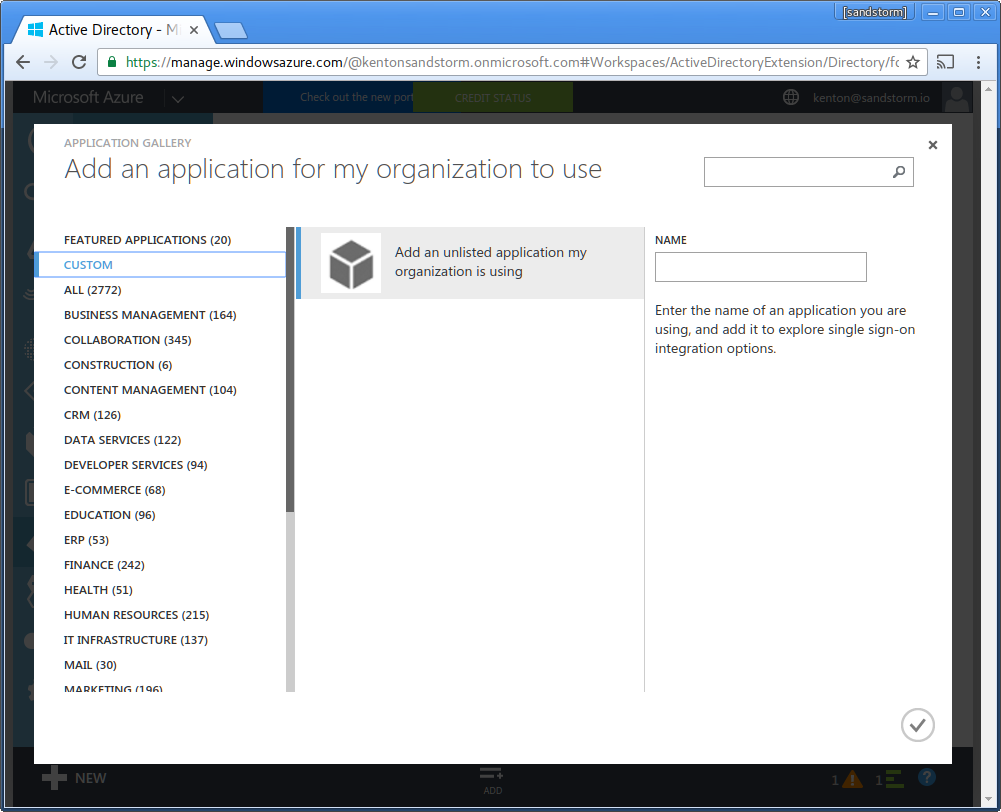
- Enter name: "Sandstorm". Click the checkmark in the lower-right.

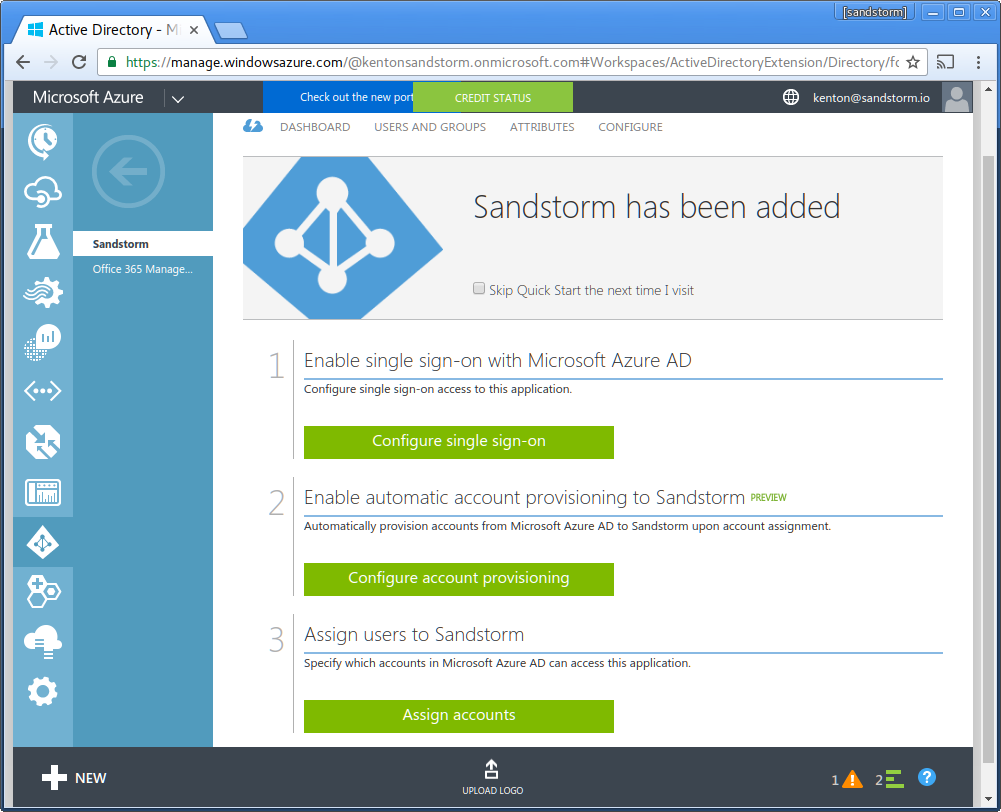
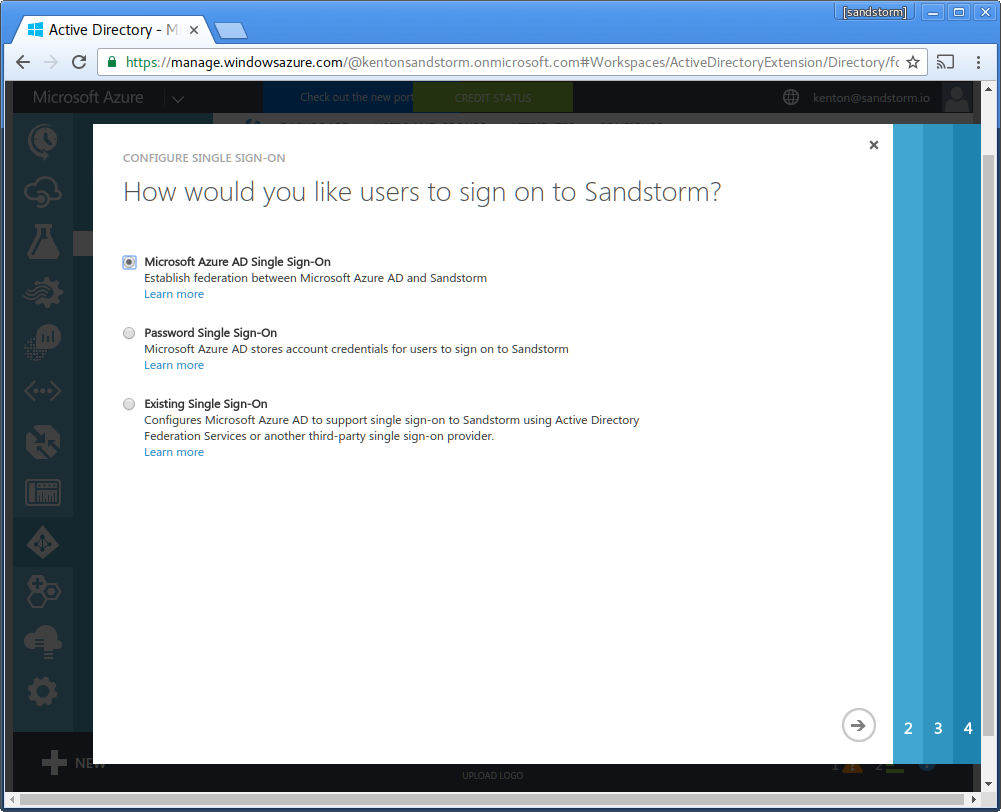
- Choose "Configure single sign-on"
- Choose "Microsoft Azure AD Single Sign-On". Click the "next" arrow.
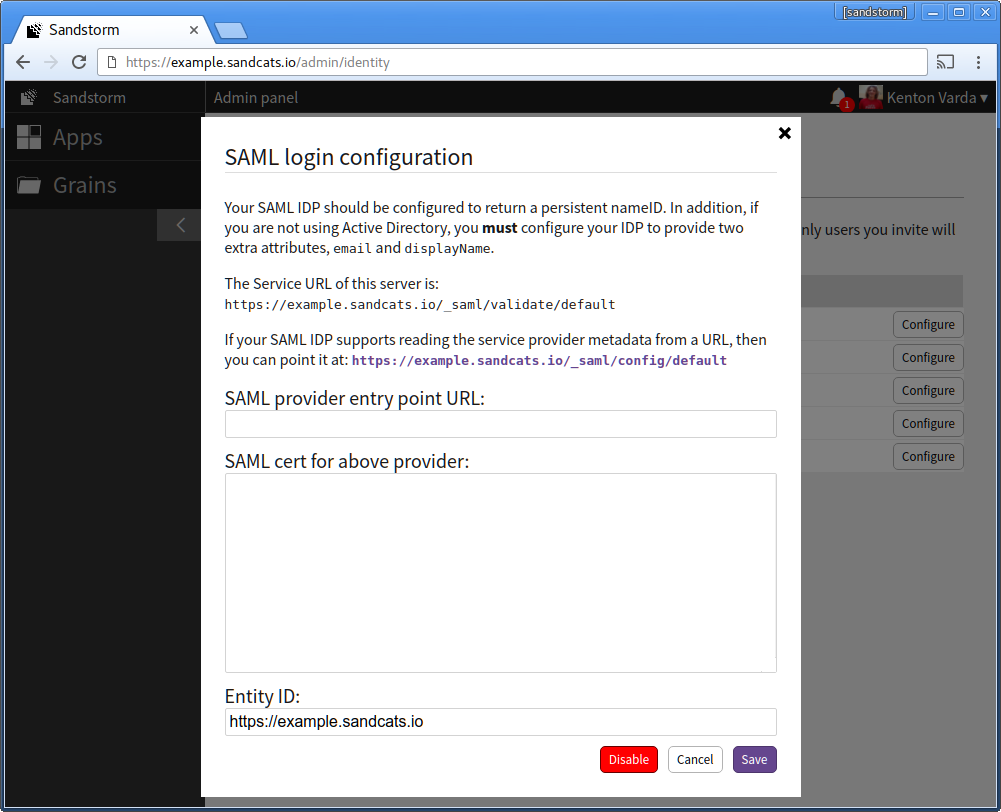
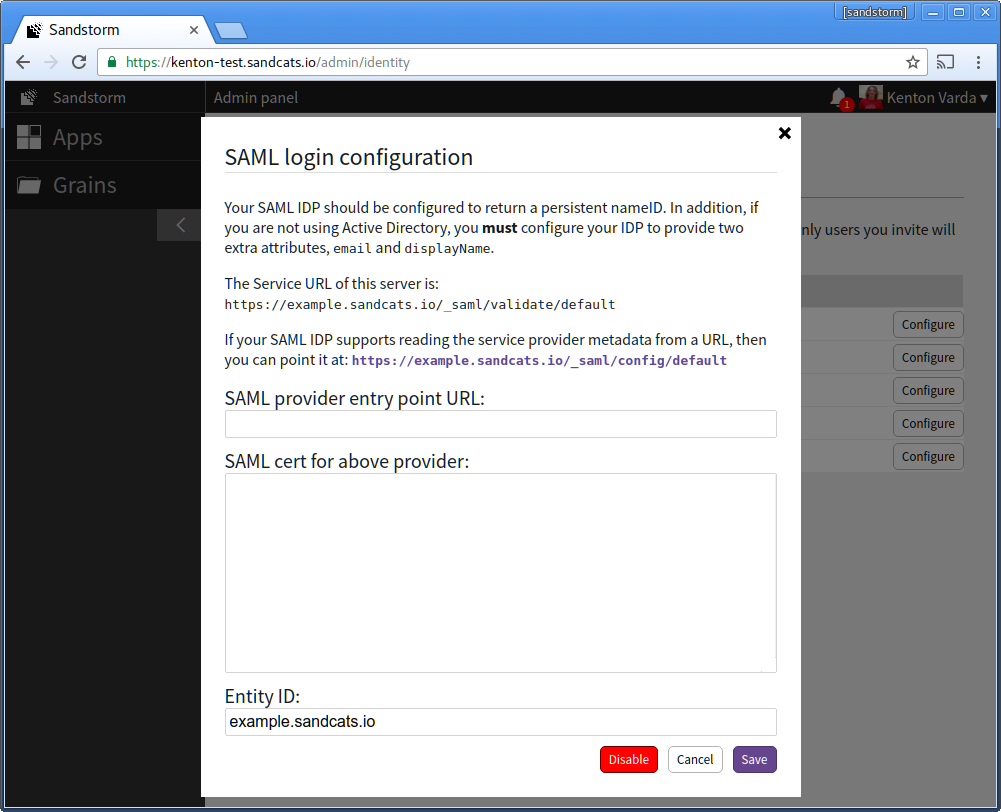
- Now, visit your Sandstorm server and begin configuring SAML login. In the Sandstorm SAML config, adjust the "Entity ID" to be the full URL to your Sandstorm server, including the leading "https://", which you will also use as the Azure AD "Identifier". Azure AD requires that the entity ID be a full URL, not a hostname. You will also need to copy the Sandstorm server's Service URL to your clipboard.
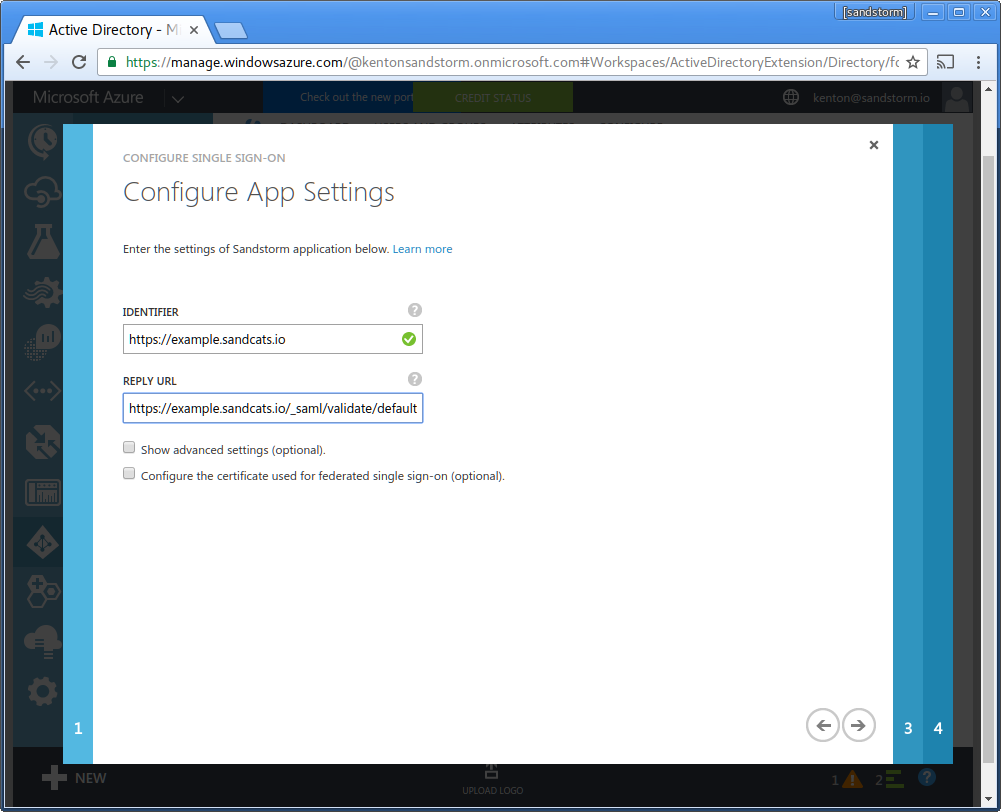
- Return to the Microsoft Azure AD page in your web browser. For "Identifier", enter the Sandstorm server's URL. (Example: "https://example.sandcats.io") For "Reply URL", enter the Sandstorm server's Service URL from the Sandstorm SAML config. (Example: "https://example.sandcats.io/_saml/validate/default"). Click the "next" arrow.
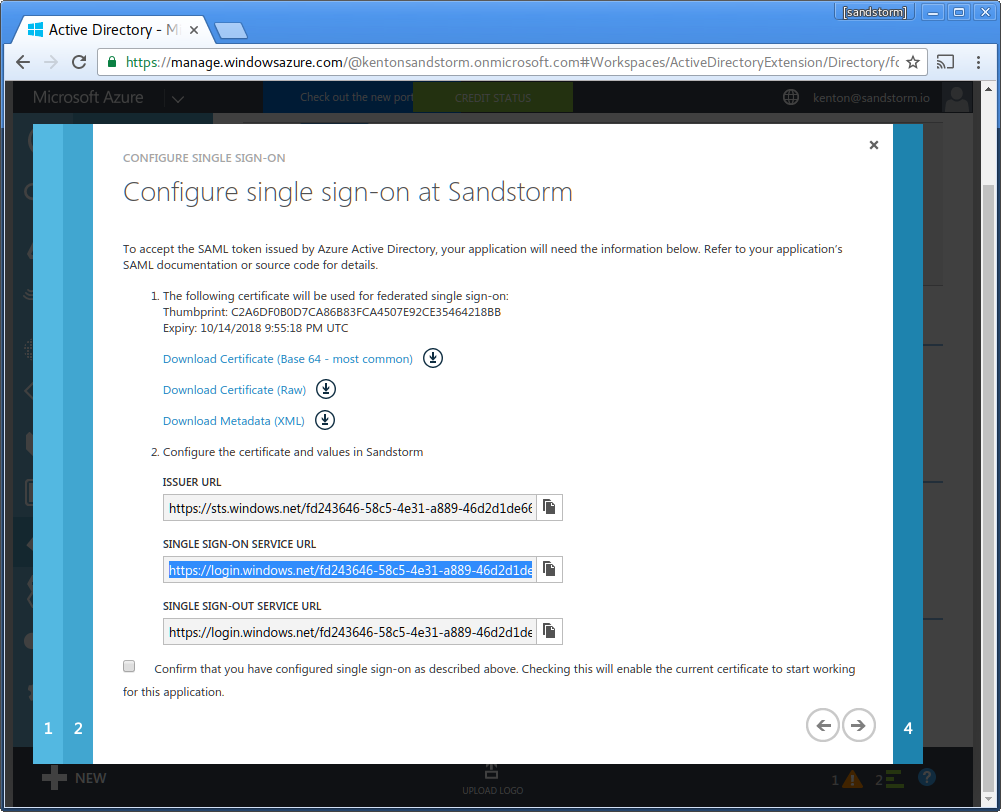
- Click "Download Certificate (Base 64 - most common)".

- Open the certificate file in a text editor (such as Notepad).
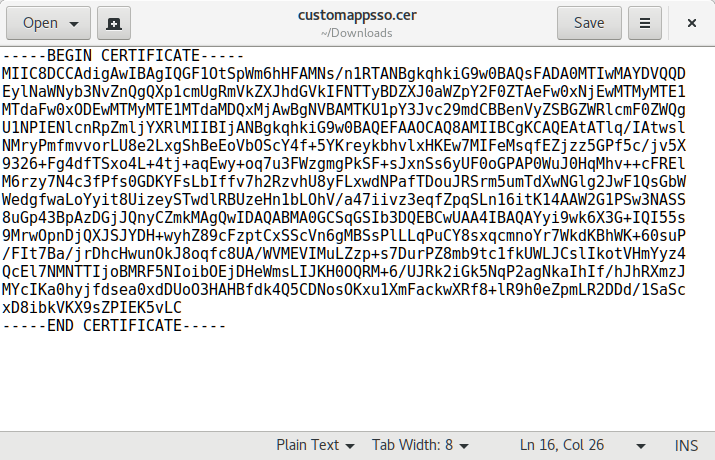
- Copy/paste the contents of the file into Sandstorm's SAML login configuration under "SAML cert for above provider:".
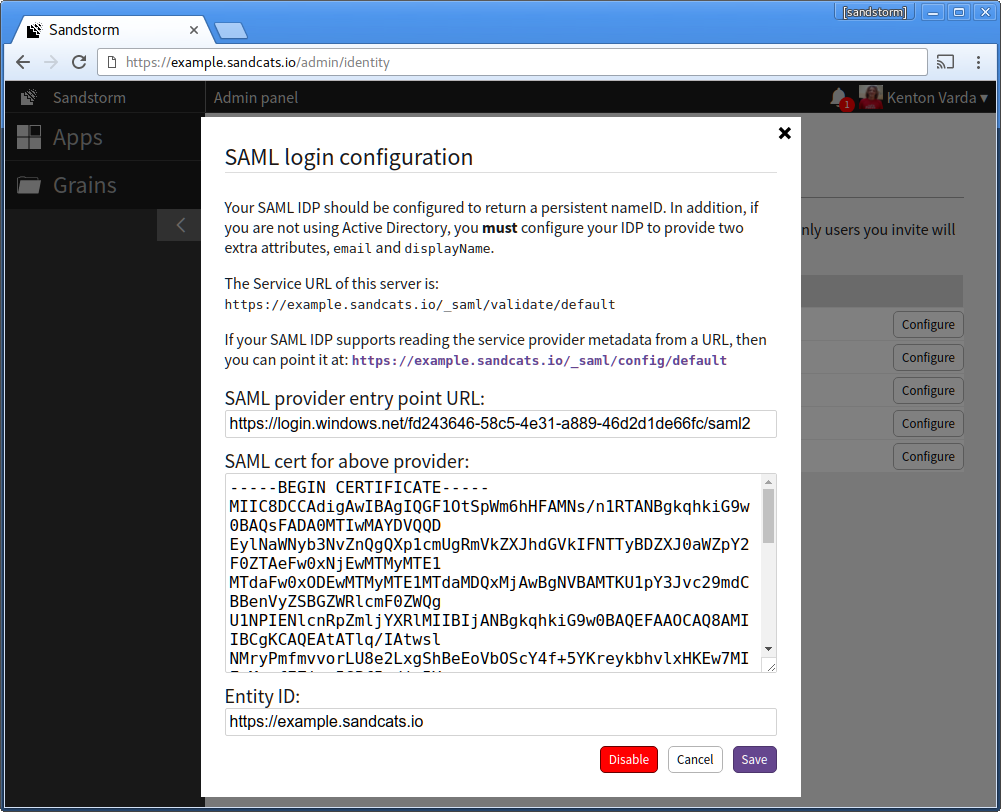
- Back in the Azure AD configuration, copy the line titled "Single Sign-On Service URL". In the Sandstorm config, paste this under "SAML provider entry point URL:".
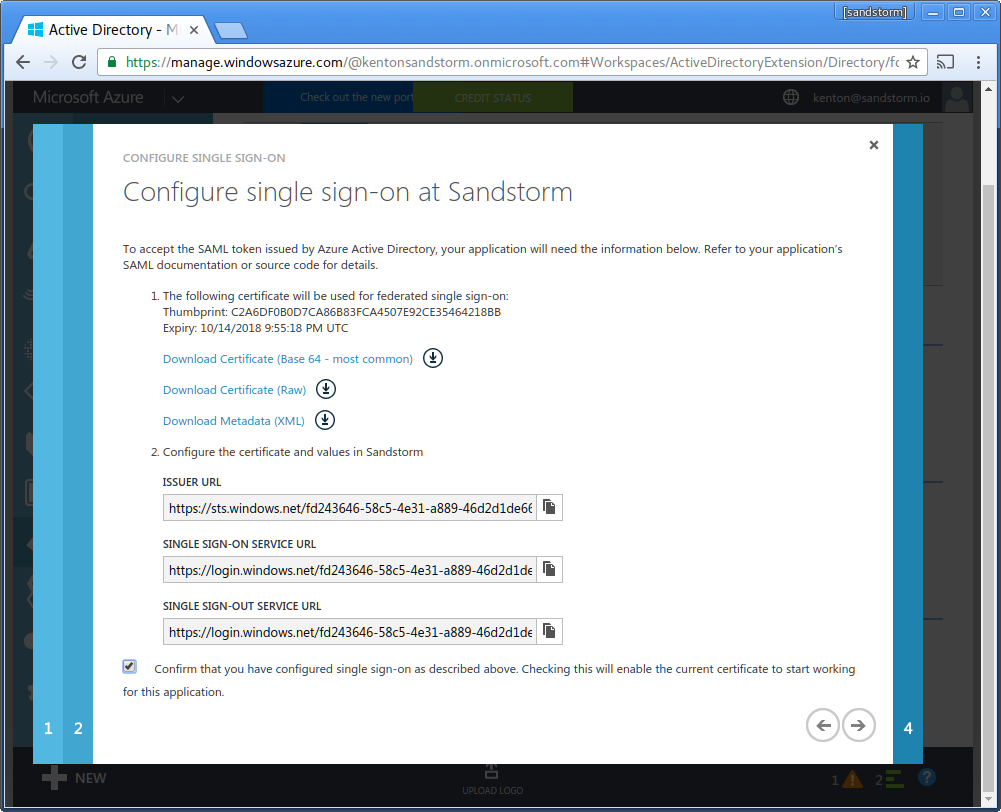
- In the Azure AD config, check the box: "Confirm that you have configured single sign-on as described above." Click the "next" arrow.
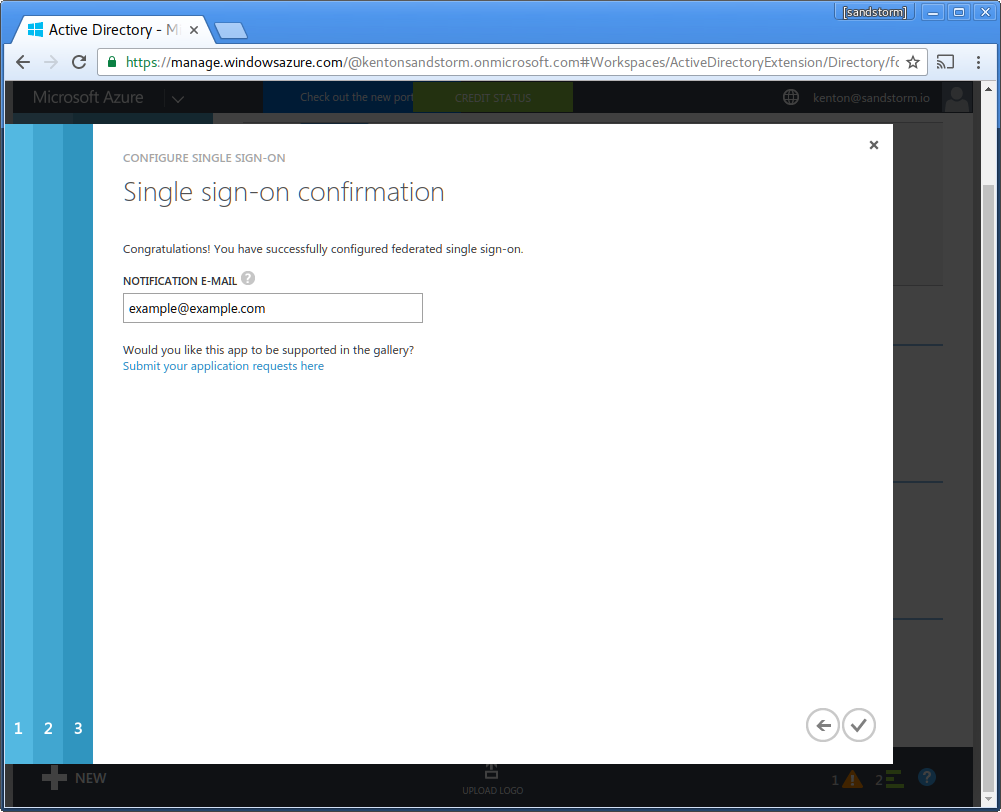
- Enter your email address for service alerts from Microsoft. Click the checkbox to complete configuration.
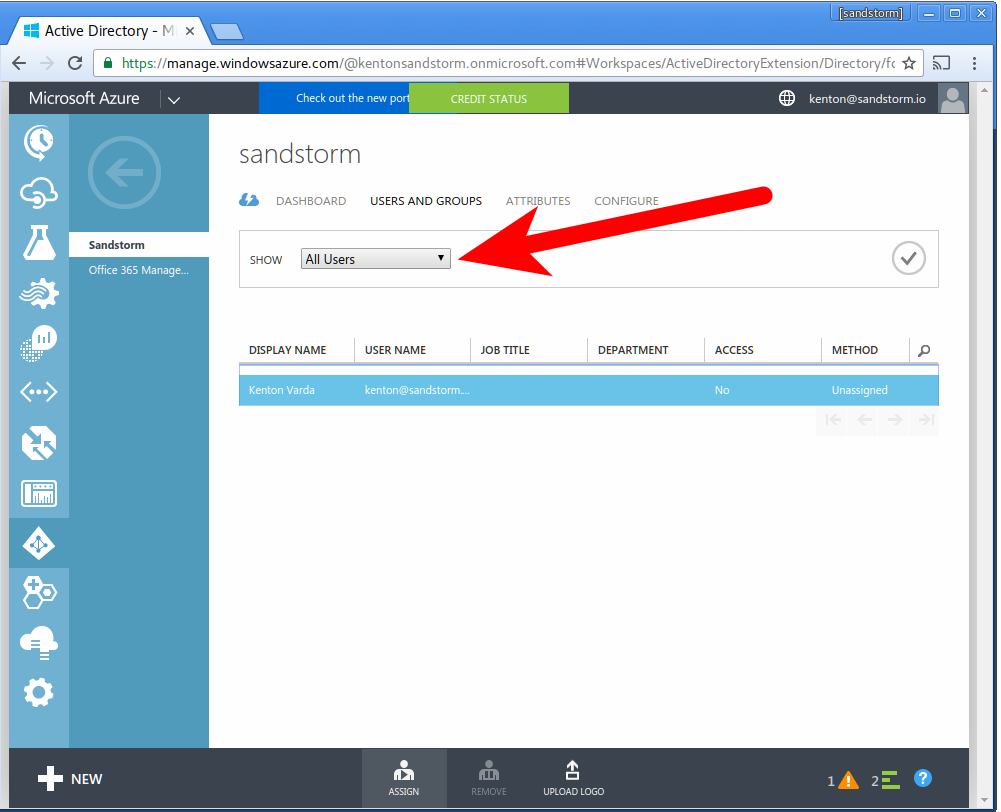
- Click "Assign accounts".
- Click: "Users and Groups", then "All Users". Click the check-mark to request Sandstorm access for all users.
- The system will ask you if you are sure. Click "Yes" to confirm.
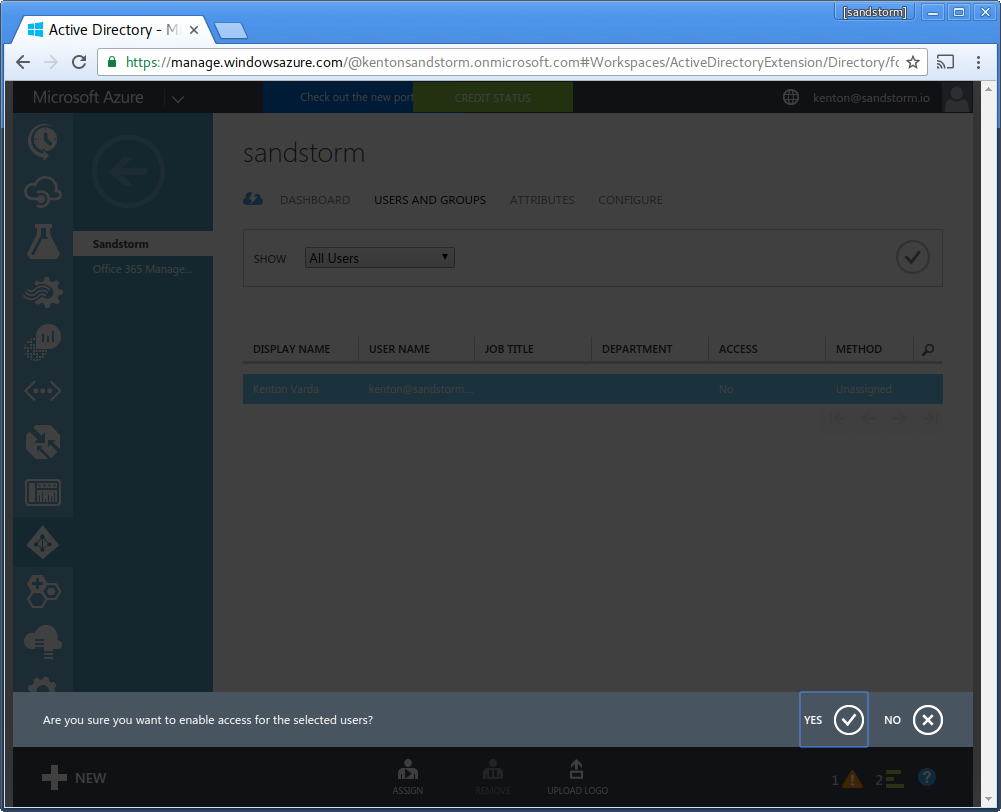
Congratulations! You have enabled Sandstorm for all the users in your Microsoft Azure Active Directory service.
Windows Server Active Directory
Summary: Once you have created a directory, you must use Active Directory Federation Services to add a new Relying Party, namely the Sandstorm web application. Each Sandstorm server publishes federation metadata information at a URL available within the SAML configuration page. You must configure a rule that sends the user email address to Sandstorm, as well as a rule that declares email addresses are the persistent identifier. You must also export the custom SAML certificate to Sandstorm. Once you have done this, you can use Active Directory to choose which users in your domain are allowed to use Sandstorm.
To connect to Active Directory via SAML, you must enable Active Directory Federation Services (AD FS). We will assume you have already done this. We also assume that your users' web browsers can reach the the Sandstorm server as well as the AD server. With SAML, all communication between the Service Provider (Sandstorm) and the Identity Provider (AD) is through the browser. The only server-to-server communication happens during setup, where AD FS fetches a configuration XML file from Sandstorm. If desired, the admin can avoid this server-to-server communication be by downloading the XML from Sandstorm and then uploading it to AD separately.
Note that AD FS requires that your Sandstorm server supports HTTPS with a valid certificate. You can use a private CA for this, but setting up a private CA is beyond the scope of this document.
Here is a screenshot tour, using example.sandcats.io as an example Sandstorm server.
Part 1: Configure AD FS
- Open the AD FS management UI.
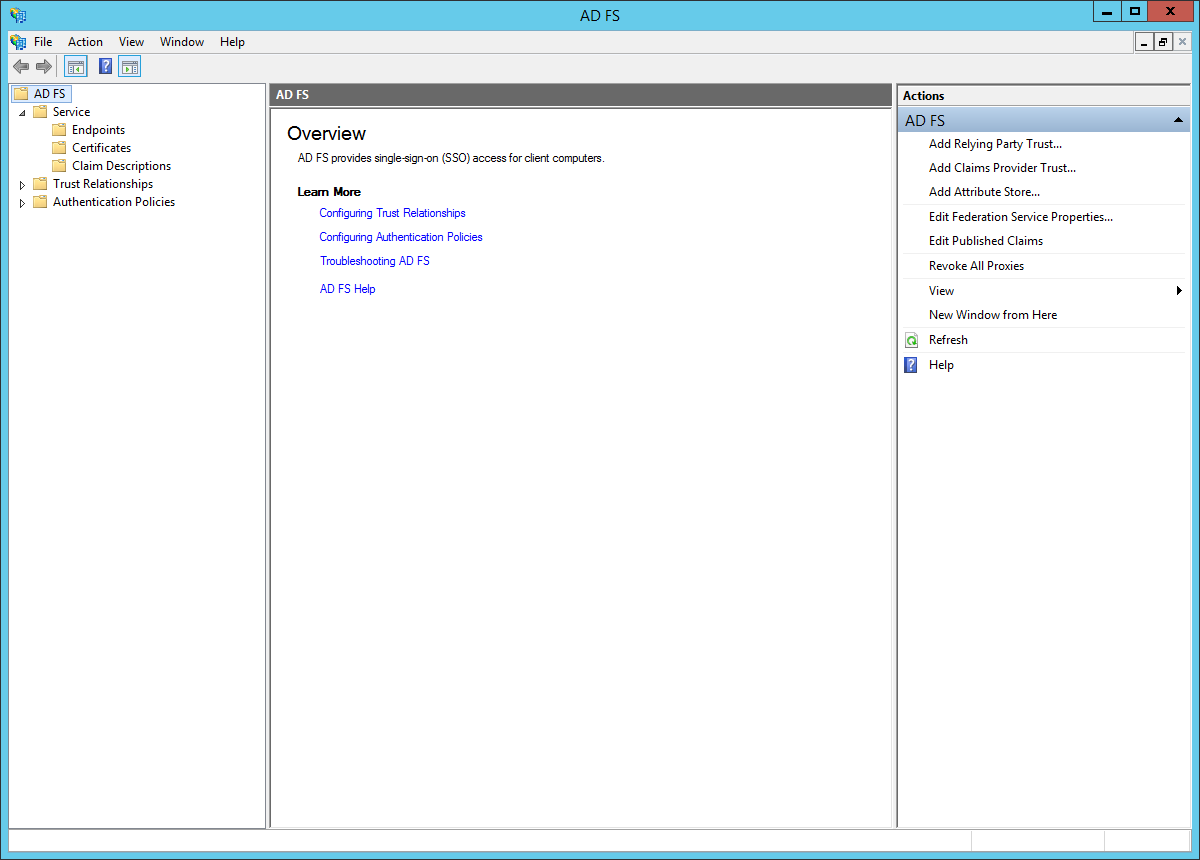
- In the left sidebar, browse to: "Trust Relationships > Relying Party Trusts". In the right sidebar, click: "Add Relying Party Trust...".
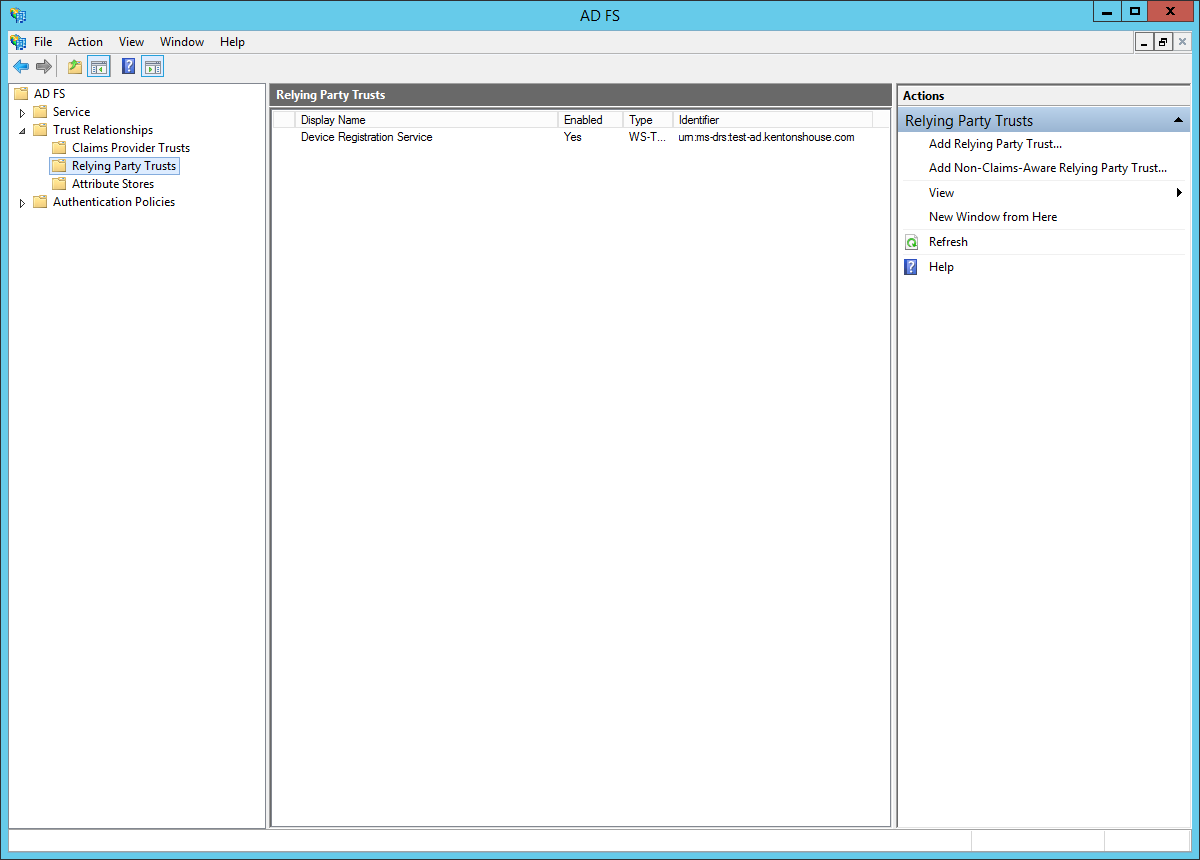
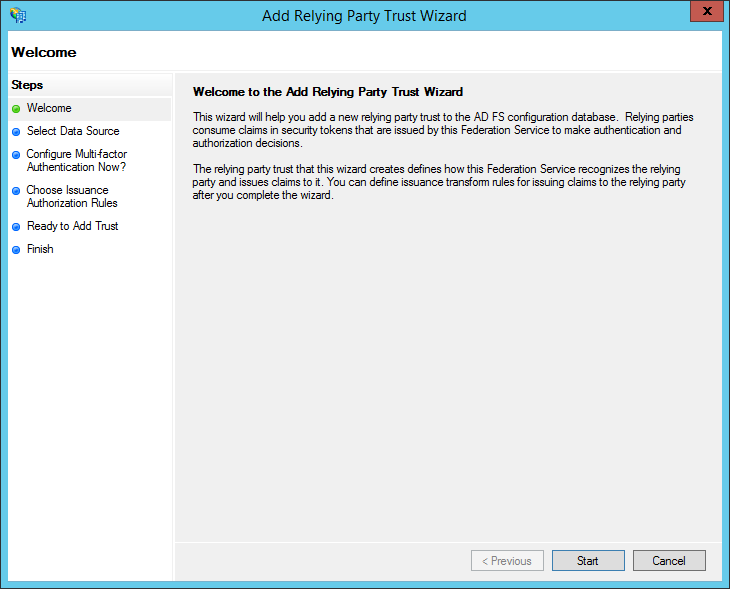
- You will see the "Add Relying Party Trust Wizard." Click "Start."
- At this time, open the Sandstorm SAML configuration interface in a new browser tab. Take note of the Sandstorm service provider metadata URL. This is typically of the form: https://example.sandcats.io/_saml/config/default
-
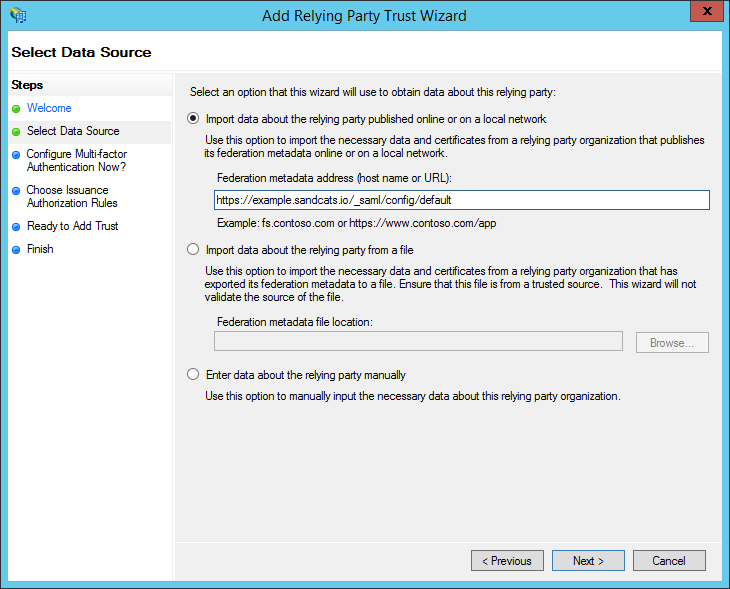
Back in the "Add Relying Party Trust Wizard," choose the radio button for: "Import data about the relying party published online or on a local network". Under "Federation metadata address (host name or URL)", enter the address of Sandstorm server's service URL. This is typically of the form: https://example.sandcats.io/_saml/config/default . Then, click Next.
- If your Sandstorm server does not support HTTPS, AD FS will complain at this point. Do NOT try to work around this by downloading the metadata and feeding it to AD FS manually. If you do that, AD FS may appear to accept the metadata, but it will leave all the endpoints unconfigured, because AD FS will not accept a non-HTTPS endpoint.
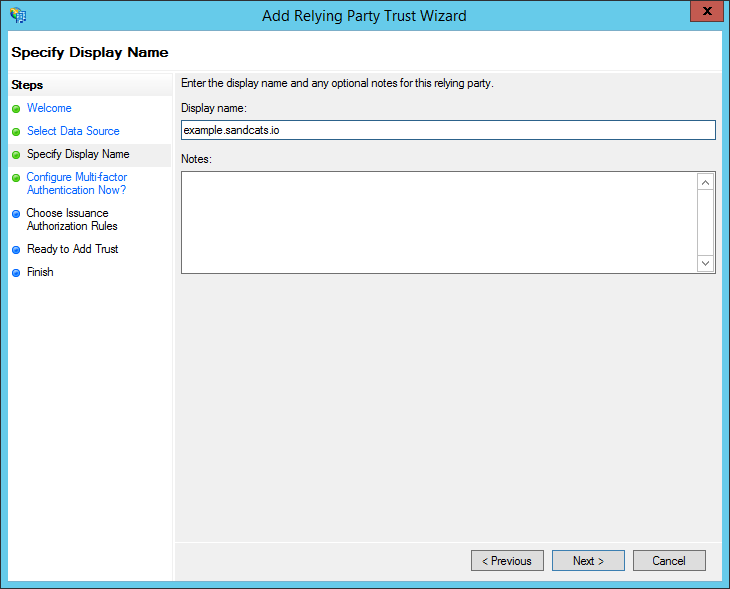
- Choose a display name (for example, the server's hostname like example.sandcats.io) and notes if desired, then click "Next".
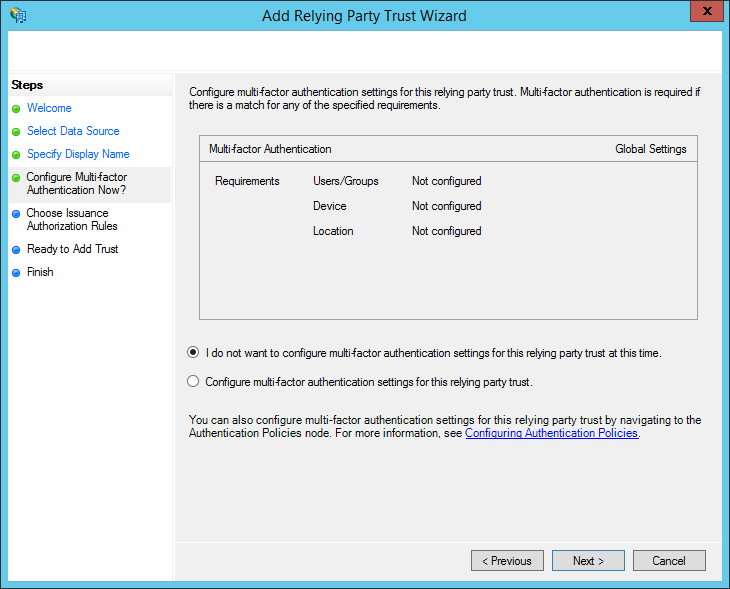
- Choose whether to configure multi-factor authentication and click "Next". (Configuring multi-factor is beyond the scope of this document.)
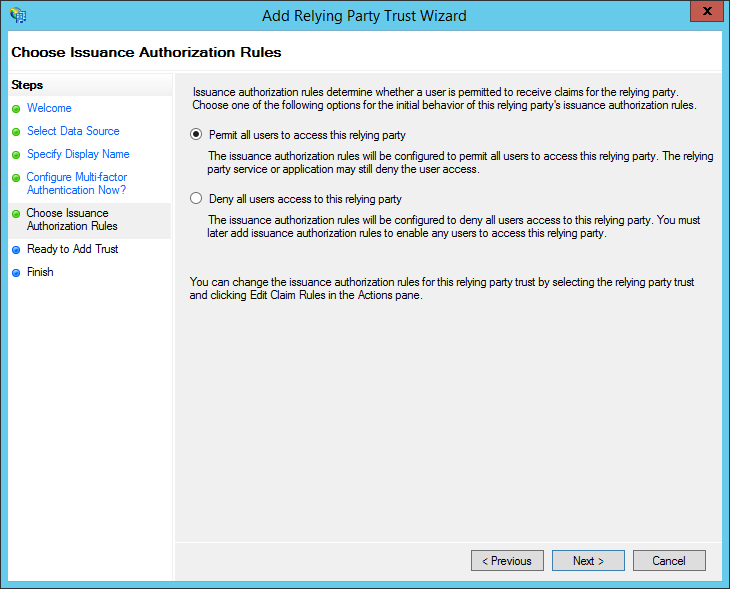
- Choose "Permit all users to access this relying party" and click "Next".
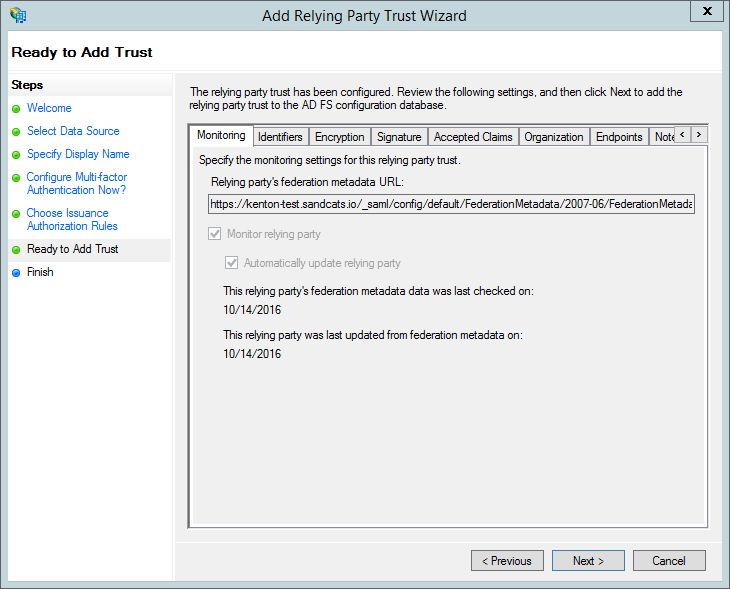
- Review your choices and click "Next".
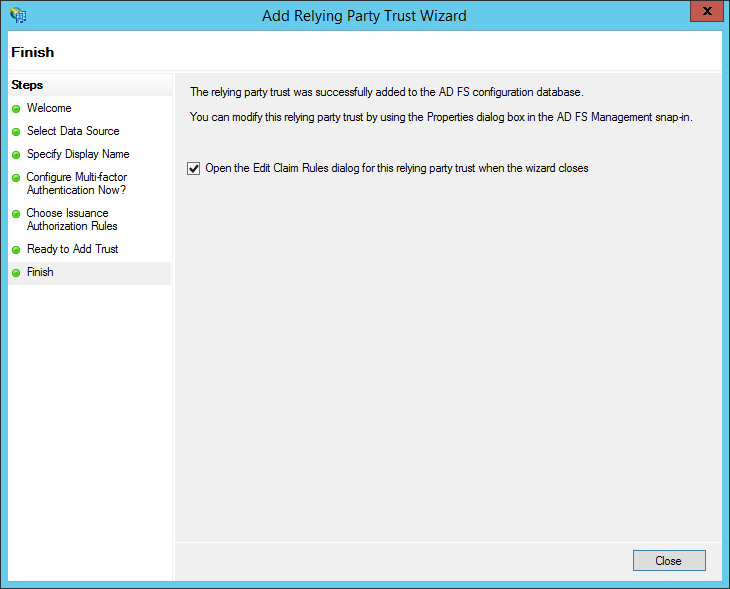
- Check the box for: "Open the Edit Claim Rules dialog for this relying party trust when the wizard closes". Then, click Close.
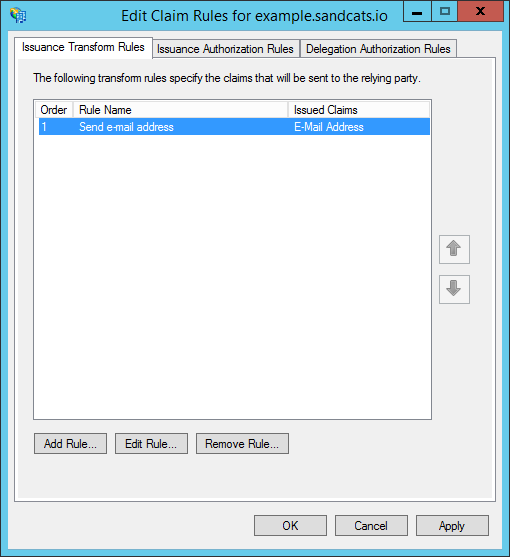
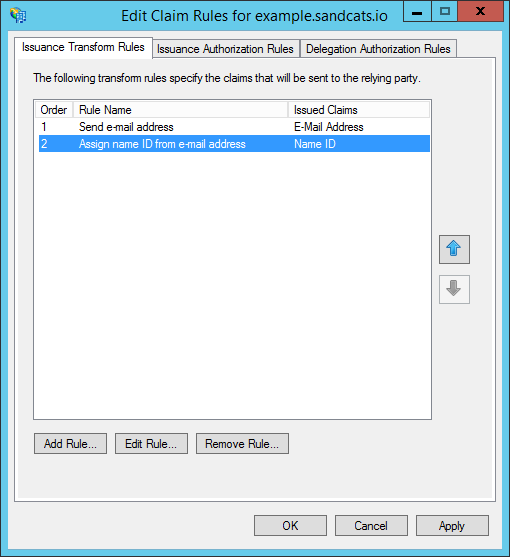
- The "Edit Claim Rules" dialog appears. Click "Add Rule..."

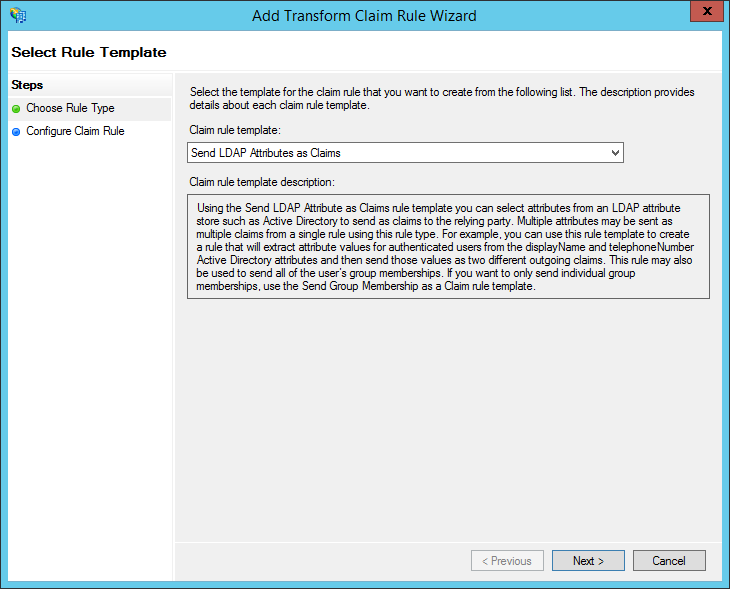
- Under "Claim rule template", choose: "Send LDAP Attributes as Claims". Then click "Next."
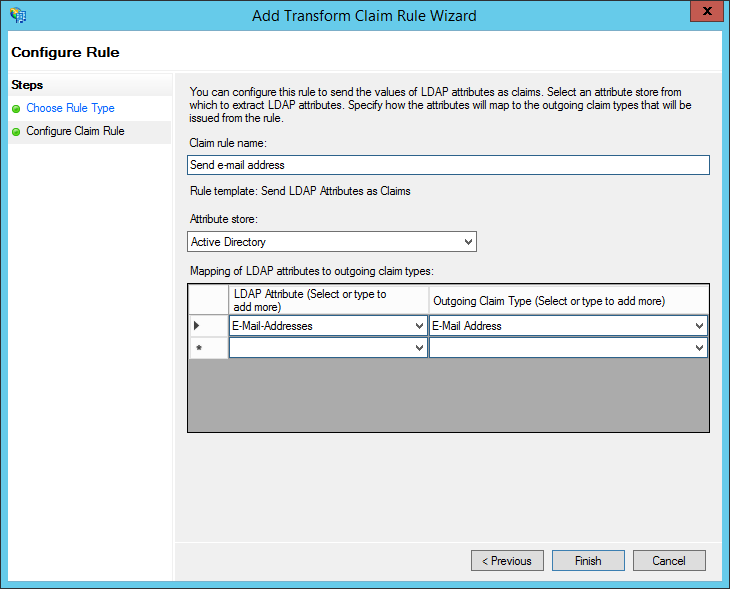
- Under "Claim rule name", enter: "Send e-mail address" (or any name you want). Use "Active Directory" as the attribute store. Configure the LDAP Attribute as E-Mail Addresses and the Outgoing Claim Type as E-Mail Address. Then click "Finish."
- Click "Add Rule...".
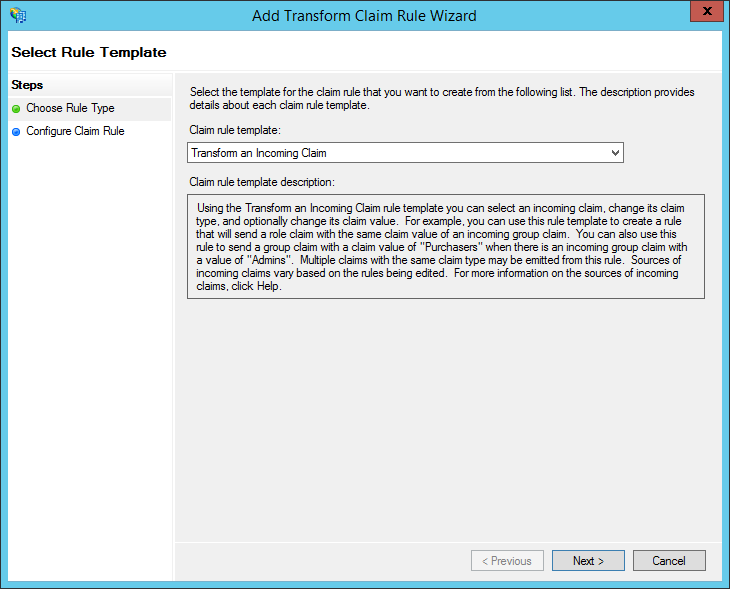
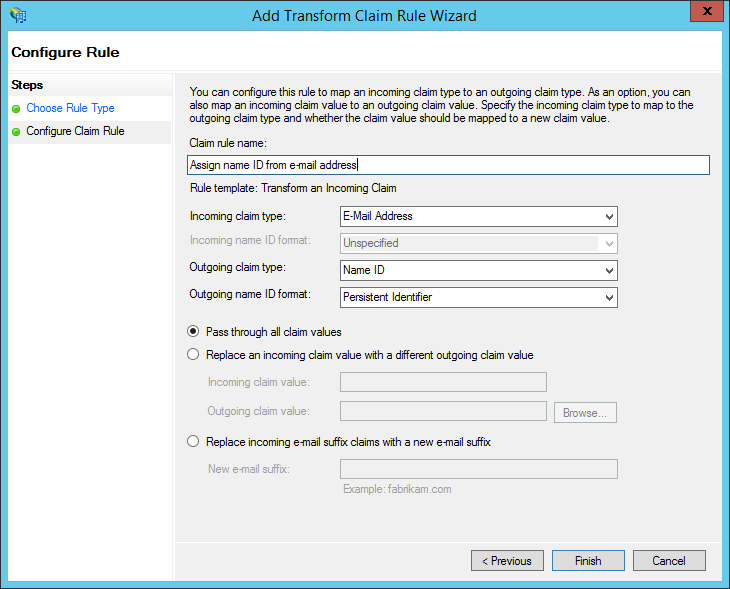
- Under "Claim rule template", choose: "Transform an Incoming Claim". Click "Next."
-
Under "Claim rule name", enter: "Assign name ID from e-mail address" (or any name you want). Configure the Incoming claim type as "E-Mail Address" and set the Outgoing claim type to "Name ID." Set the Outgoing format to "Persistent Identifier." Choose to "Pass through all claim values." Finally, click "Finish."
- NOTE: This differs from many other services. Do NOT choose "Email" here. You MUST choose "Persistent Identifier". This is because Sandstorm allows an advanced administrator to choose a different user attribute to use as the primary identifier. For example, if your system has a notion of numeric user IDs that never change, you could use that as the Name ID instead. This way, you could change a user's e-mail address in the future without requiring that they transfer all of their Sandstorm data to a new account. However, most administrators choose to use e-mail addresses as the primary identifier, accepting that this means that e-mail addresses can never change.
- Click "OK" to finish editing claim rules.
Part 2: Extract your certificate
- Open the AD FS management UI. In the left sidebar, browse to: "Service > Certificates".
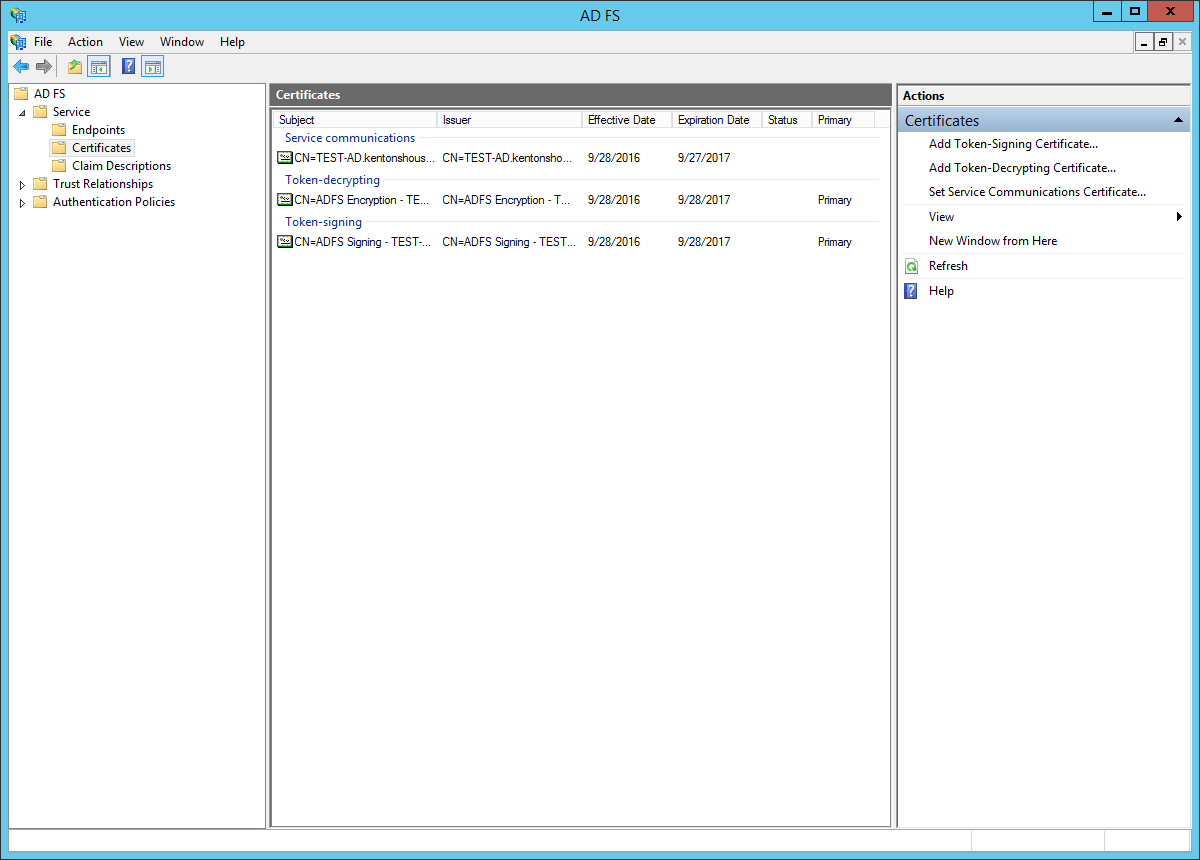
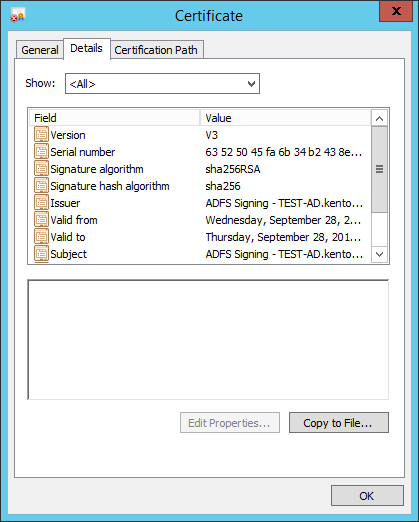
- Click on the certificate under "Token-signing" to select it.
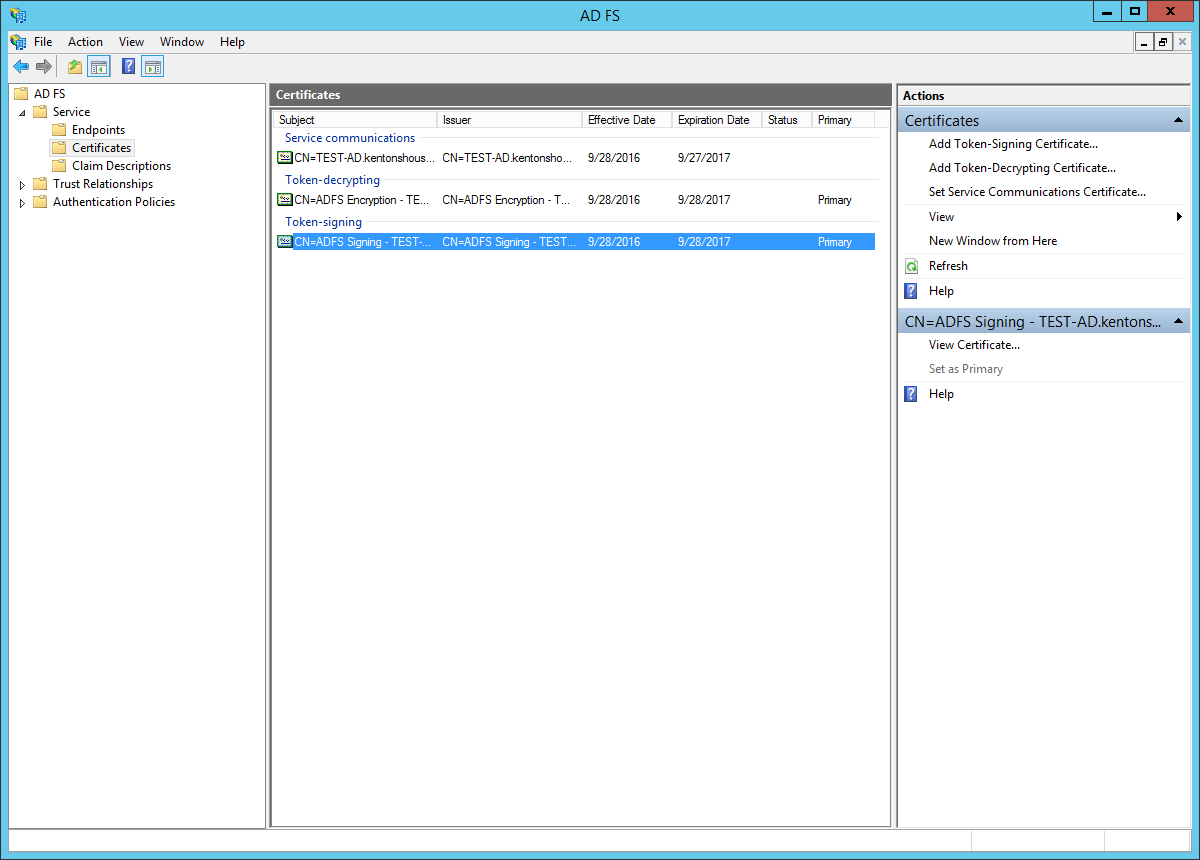
- Click "View Certificate..." In the Certificate dialog, go to the "Details" tab.

- In the "Details" tab, click "Copy to File..."
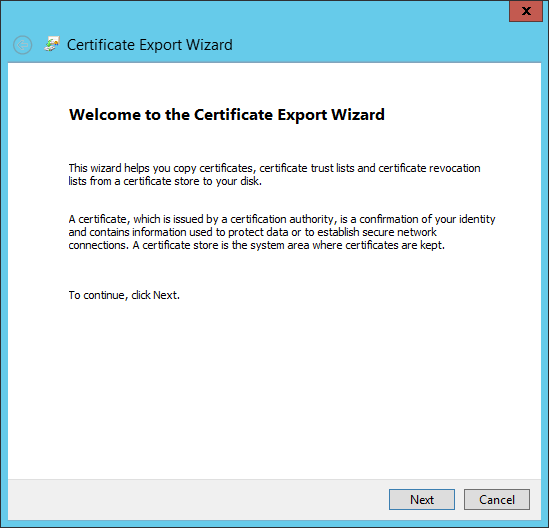
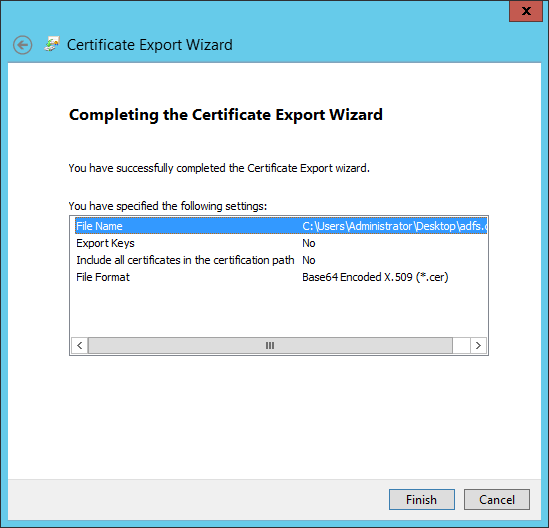
- The Certificate Export Wizard appears. Click "Next".
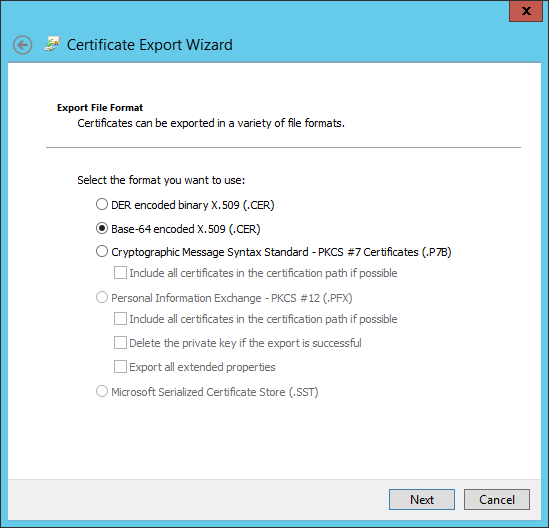
- Choose the radio button for: "Base-64 encoded X.509 (.CER)". Click "Next."
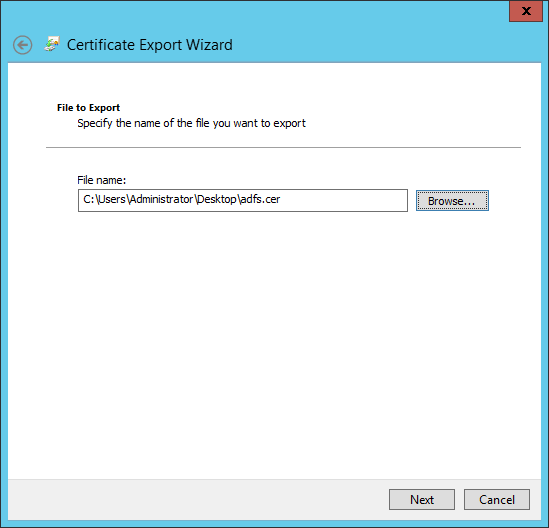
- Choose where to save the certificate. Click "Next."
- Review the "Completing the Certificate Export Wizard" information, then click "Finish."
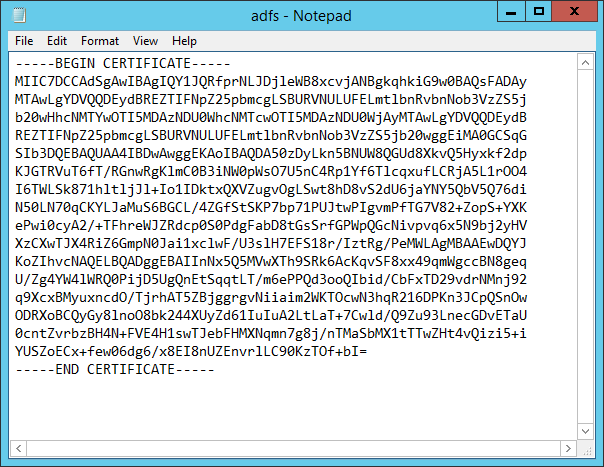
- Open the certificate file using a text editor, such as Notepad. You will need to copy/paste this next in the next part.
Part 3: Configure Sandstorm
-
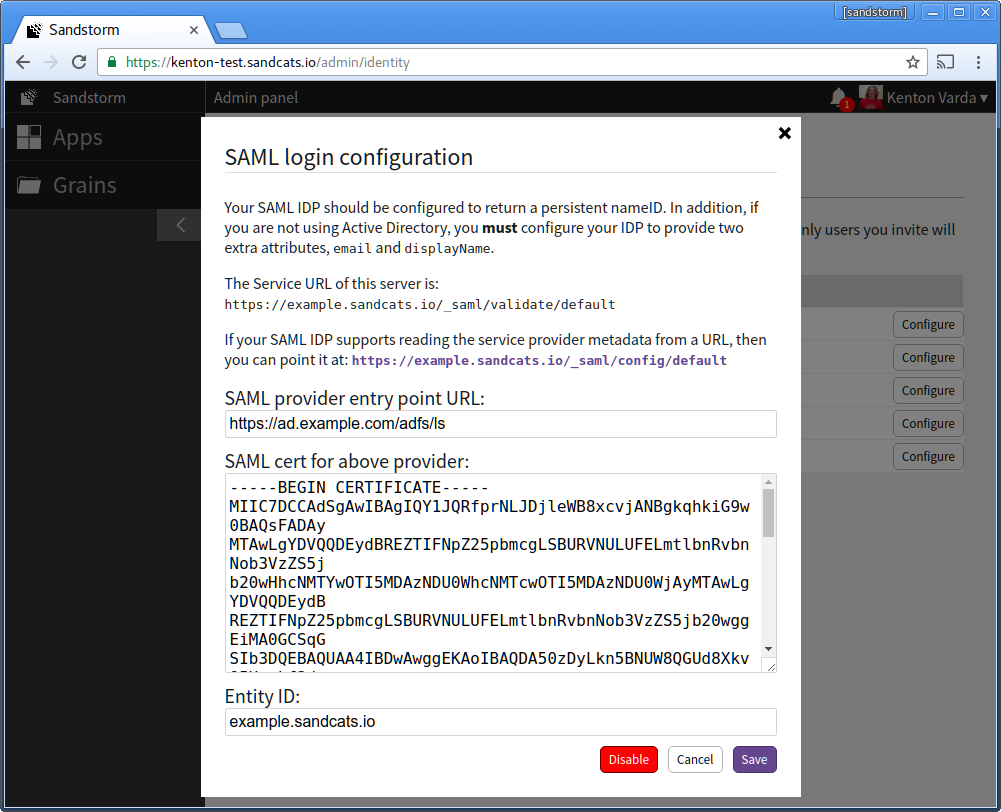
Open Sandstorm's SAML login configuration.
-
Under "SAML provider entry point URL", enter your AD FS login entry point. This is usually "/adfs/ls" at the host associated with your Active Directory server. For example, if your Active Directory server is ad.example.com, the URL would be: https://ad.example.com/adfs/ls
-
Under "SAML cert for above provider", copy the contents of the certificate you extracted in part 2, above.
-
For the entity ID, keep the Sandstorm default, which is your server hostname. For example, example.sandcats.io. If you change this value, logins will not work until you resynchronize AD FS with Sandstorm's SAML metadata.
-
Finally, click "Save."
-
This concludes setting up Windows Server Active Directory with Sandstorm! If you have any questions or need further help, please email support@sandstorm.io! We'd be honored to work with you to get your server set up properly.